Showing posts with label SDP 001 Planning. Show all posts

Friday, 25 May 2012

4th Workshop preparation for the 31st May


This week there is lots to do in preparation for the next workshop just like last time!


The card shapes need to be laminated with glitter trapped in. Then cut out with 1cm around the edge so they will be waterproof.


The lines need to be drawn on the fins with fabric pens= 66 fins then iron in to make sure they are all waterproof.


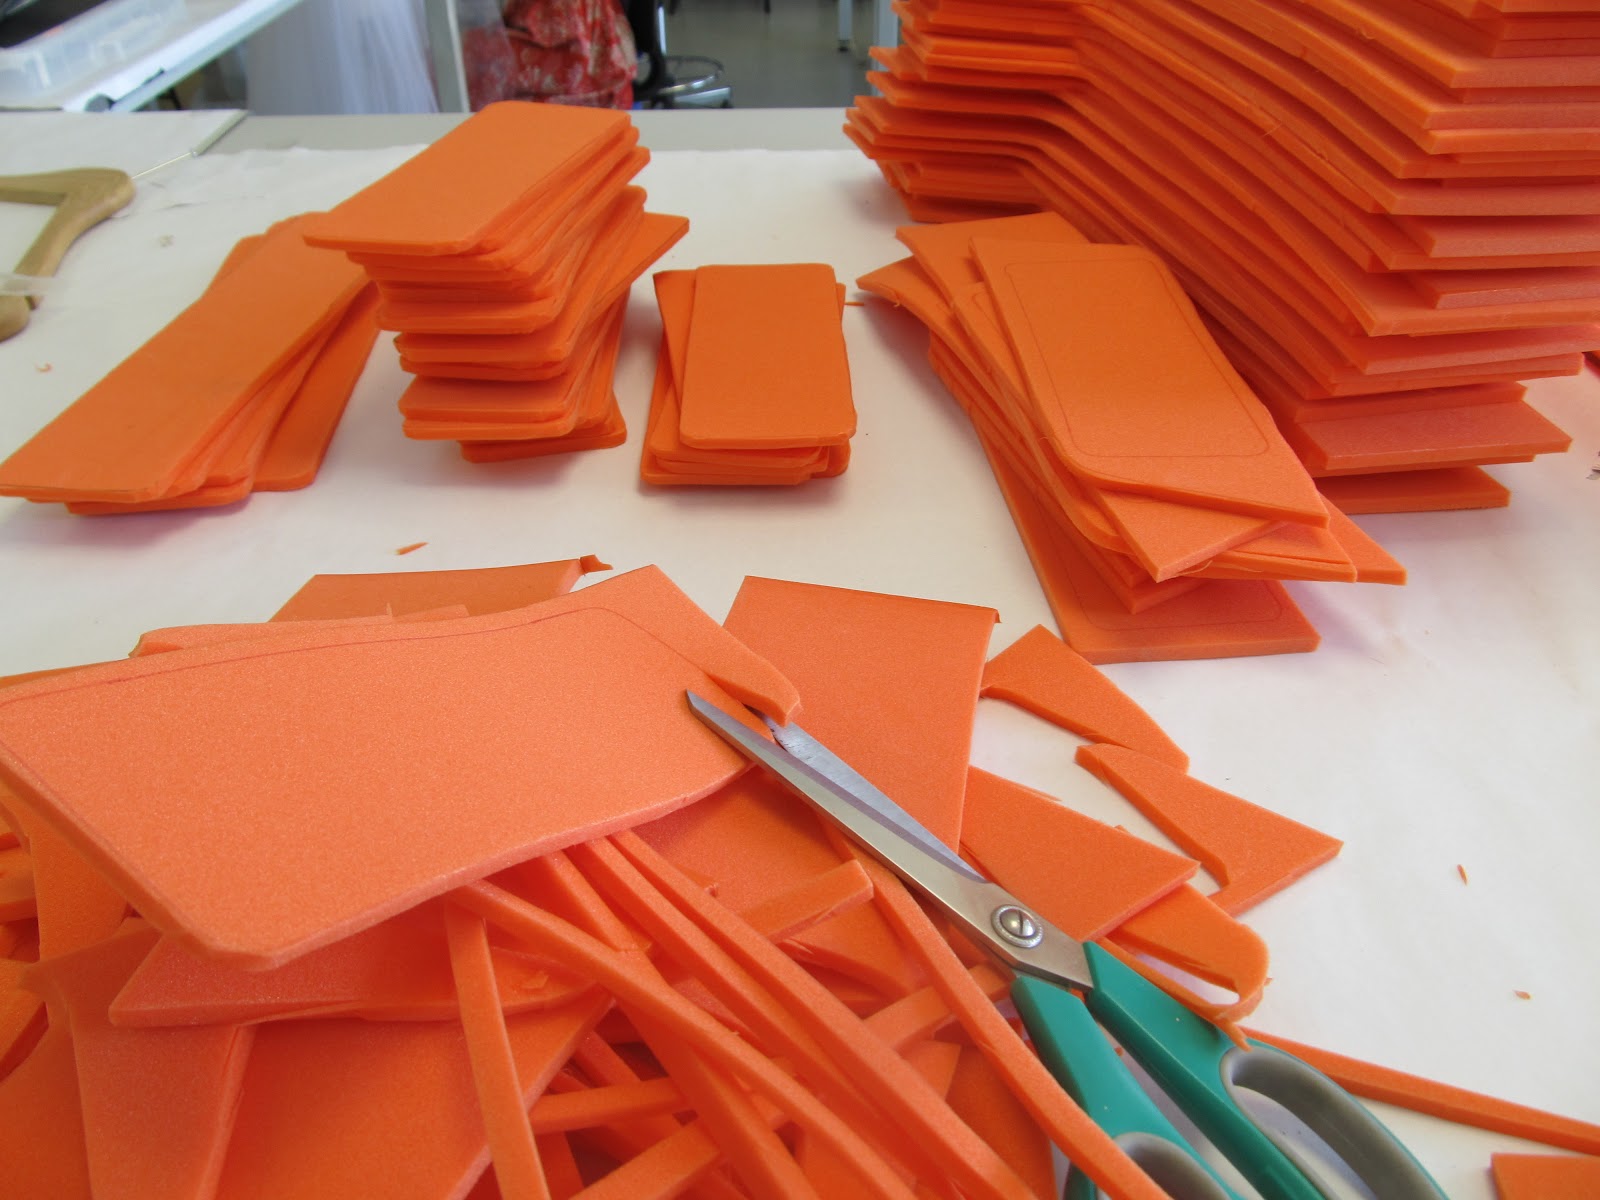
The plasterzote needs to be cut into fine strips


The gems need to be ironed onto the t-shirts. 16 per primary in orange. 30 for Leader in green and Purple


....and my sketchbook needs finishing for Friday's hand in.


3rd Workshop- 24/05/2012


Task One
Put together the headdress shapes by bending them around and measuring, putting a rectangle of fibre glass tape down, then stapling the elastic the headdress in the appropriate places. Then covering the staples in more fibre glass tape so they wouldn't go into the head.

Task Two
Painting the designs on the mask area copying the templates stuck to the walls of the classroom using the colours Orange, Gold and green.


These were the finished designs on the masks of the headdresses


                                            Task Three


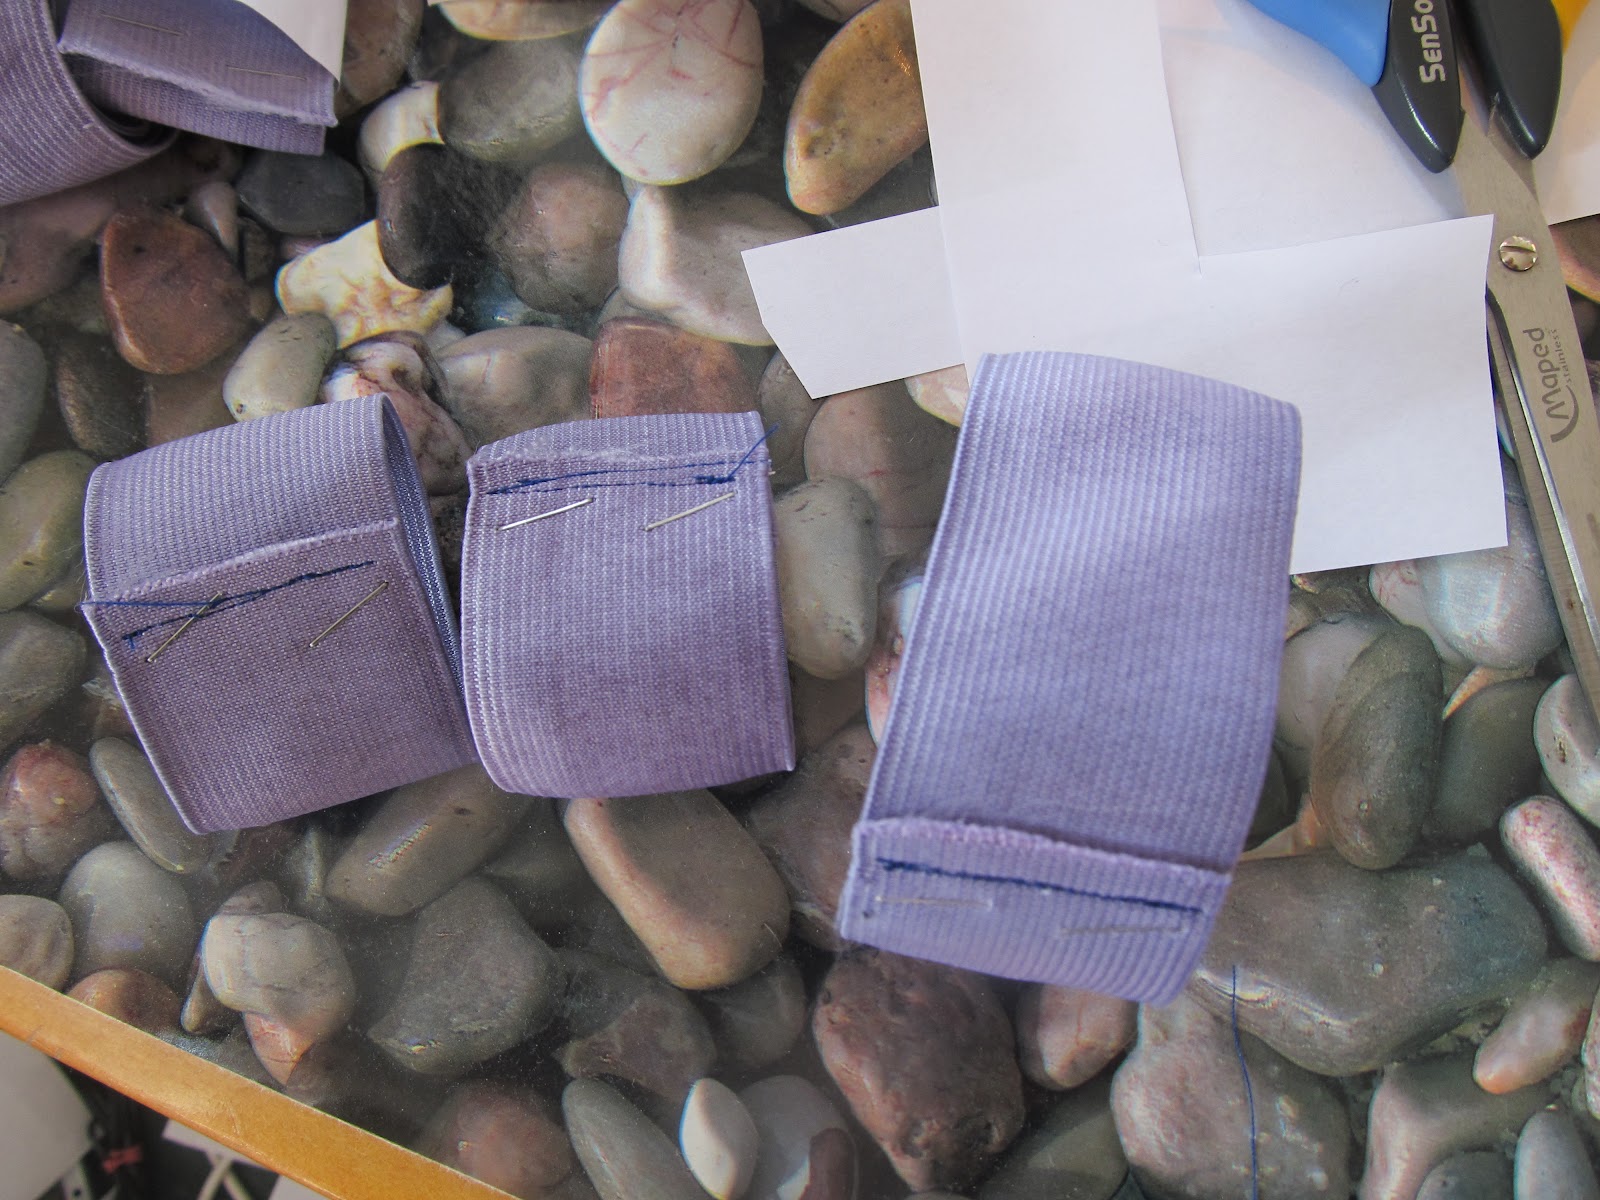
Sewing the bells onto the elastic. I showed them how to do it. Several times before they went off to try it. Tie a knot, sew twice through elastic twice through the bell, once through elastic and tie a knot. Each bell done separately.


Luckily my teacher agreed to get them all finished by the next session.


This afternoon there were people in filming the Class for the Moving Tides DVD, this meant I swapped round some of the tasks so that it would be more exciting for the camera crew, lots of different things going on.
                                                  Task Four and Five

The children to be split into two groups. One group to go with the teacher to cut off the elastic to do the 'Big Reveal' of the tie dye t-shirts.
The other group came with me to place three/five pieces of fibre glass tape on the plasterzote and make 3 holes in the primary rectangles and 5 in the leader rectangles where the tape was, And thread the cable ties through. So they were ready to attach to the main headdress.


Problem Solving/ What I learnt:


  • As the weather was so hot I found the children were a little distracted and it was harder this time to get them to concentrate so was more challenging to get them to follow instruction, such as the cable ties some of them were put in the wrong way round.
  • Last week I struggled getting them to come up with their own designs for the card which is to be laminated, this week I struggled to get them to follow the designs in which I came up with them to copy. Though they haven't followed the design 100% they look great as a group on the Mask part of the headdress. 
  • I think the children really enjoyed taking the elastic bands off the t-shirt to see what the dye revealed.
  • The bells-some people found it easy (especially the girls) and had finished by the end of the workshop and were helping other class mates to get it finished. Others really struggled and had never tied a knot before so one-to-one demonstrations enabled me to show each child clearly how to do it. I found the best way was to show them  how to do it once, then they show me they could do it while I  watched that way i knew if they understood or not.

Wednesday, 16 May 2012

Preparation for the 3rd Workshop-...on the 24th May

Luckily I had two weeks to prepare for the next workshop as there was a lot to do for next time!


1.
I had to Dye the T-shirts the next colours- This was a much deep orange all over, then red on either end dipped-dyed. So all 33 T-shirts were done, then I had to get them dry. Then I could undo 3 Leader t-shirt and start putting the iron on gems on them. The other three leader costumes had to be taken into the school with the primary t-shirts for the extra children to undo.


2.
Next job was to start sewing the elastic on the sewing machine back and forward to make them really strong for the calf's for the children to sew bells to, and the wrists; which is how the fins would stay to the wrists. 


3.
Using a stencil I made I had to cut out all headdress shapes in Plasterzote and the extra rectangle bases for the cable ties to be attached to so not to irritate the head with something digging in. Which = 33 headdress shapes. 27 Small rectangles, and 6 large rectangles.  


Thursday, 10 May 2012

Southill Primary Sail

During the Kinetica weekend we had to put together the structure of the the sail's which will be carried along with the school group. The fabric was then to be taken away by my school and decorated. My School designed there own sail. Using my colours Orange, green and purple. The textile process used for these sails was Batik (A Resist technique using hot ,melted wax then painted with Procion dyes mixed with soda ash, excess dye washed off, to be left with a bright, colourful and waterproof sail-well the dyes won't run) I think the colours are great, even though it is based on an Octopus- not the Firefish I don't think it matters too much as the colours work really well with my costumes. 


Tuesday, 8 May 2012

Workshop 2 Preparation...Ready for the 10th May

As not everything that I was hoping to get done was completed in Workshop 1 I decided to fiddle with my lesson plans a bit and move things around so I would have more time to do the preparation for workshop 3.
  • All the helper T-shirts were dyed Orange
  • All the primary and secondary t-shirts were dyed the base colour of a light-ish Orange
  • Many Green Circles were cut out for them as they struggled with the circle cutting last time.
  • As there are so many small black circles needed for workshop 3 I have started to cut them out now, and recruited my family into cutting some each as I kept getting repetitive strain injury in my hand which causes it to swell...very happy for this help! 
  • Finish cutting out some of the shapes needed to be stuck onto the fins.


I tried Cycling to the Scrap store in Bournemouth to pick up some more orange rip stock fabric as we ran out in last weeks workshop due to the children not being quite careful enough to fit the shapes on using three time the amount as my prototype. They had ran out of this so the leaders design has changed a little and there won't be quite so many shapes on them.


Tuesday, 1 May 2012

Workshop 1 Preparation...Ready for the 3rd May


Shapes on the Fins
I had to get finished the prototype fins. This involved me cutting out the shapes on the fins and sticking them on in the right pattern so the children could copy it.

Fin Bases
This was a really big task!
I had to cut out the fin shapes for both the primary and the secondary fins and then over lock the edges.
This meant three 12 hour days to create the 66 separate fins. But it was one of the only things that wouldn't be possible for the children to do because of lack of space and not sharp enough scissors in the classroom plus the edges would fray so the over locker saved this problem.

Thursday, 26 April 2012

Final Lesson Plans


Overview of Activities Day-by-Day
1st Workshop- Introduction, Fins Paint and shapes, Elastic prep
2nd Workshop-, Fins Sticking on Shapes, T-shirt Wrapping,Headdress card decoration
3rd Workshop- Tie dye reveal, Headdress Base and mask decoration, Sewing on Bells
4th Workshop- Fins Complete finish with tassels, Finish everything off, attach everything together. Try it all on.


These are the lesson plans for the workshops that I shall be running in the school. 
They include materials list's, activities, What I would like to achieve and what I need to do to prepare and before and after each workshop.


These have all been approved by the teacher.


Date:
03/05/2012
Procession section: (e.g. Punch and Judy, jellyfish)
Red Fire Fish (orange)
Lesson no:
1
School:
Southill School
Resources/
Materials:
Supplied by school: Paintbrushes-for paint , staples, stapler, a4 white scrap paper (couple of sheets for elastic labels) scissors, Biro pens. Pencils, Name labels
By Moving Tides/me: Fabric Paint, scraps from scrap store (foam, fabric scraps), Lining fabric, Purple elastic, Templates, Stapler and staples,   Pics of sea creature and Design
Objective:
Learning to paint between the lines on fabric, learn to accurately follow instructions.
Learn about the whole costume and Moving Tides event
Introduction:

Morning
Start at 9.30am
Intro who I am, and name labels
Intro on the whole design and the techniques how it will be all be made and any questions (20 mins)
9.50am
Explanation of what we will be doing with the day and in-depth example of what to do (15-20 mins)
11am demonstration of next steps to fins
Main:

Fins-
10.00am-  11am
Painting the fins Paint Orange to burnt yellow on both fins before Lunch. Orange and Yellow graduation
11-3pm (with hour lunch break from 12-1pm)
Cutting out the shapes from a template
22 circles 14 of each of the shapes


Afternoon
A parent to go round with the elastic around the calf and wrist and cut and staple for every child to size and label with Childs name.
Outcome:

27 Primary school painted Fins = 54 separate fins
6 Secondary school Fins- 12 Fins
Cut shapes
Started Calf and wrist elastic ready to sew
Additional notes, inc suggestions for next lesson and follow up:
Collect t-shirts to Dye Yellow before next session. Make sure these are labeled.
Bring prototype for fins
To do for next time-
Start sewing elastic
Cut out green circles for headdress (approx 160)
Dye all primary and secondary t-shirts base colour
Dye all helper t-shirts
Start cutting out black circles for headdress (approx 1500)
Ongoing project for me
Make bubble headdresses for secondary kids x 6


Date:
10/05/2012
Procession section: (e.g. Punch and Judy, jellyfish)
Red Fire Fish (orange)
Lesson no:
2
School:
Southill School
Resources/
Materials:
Supplied by school: elastic bands (15-20 per child) , t-shirts for primary, staples, stapler, scissors, PVA, biros,Fins, shapes cut out from last time, White card.
Supplied by moving tides/me: t-shirts for secondary, staples, stapler, coloured card, green and purple paint, scraps, elastic purple
Objective:
Learn about textile processes to make patterns with dye.
Learn about the importance to keeping to a template.
Make decisions in design choices
Introduction:

9.15am- Show how we will stick the shapes onto the fins

1pm - Show demonstration how to decorate the card pieces and cut out shapes. Show how to use the templates and show what designs need to go on the card
2.05pmExplain what to do with the t-shirts and do an example for the children (5min)
Main:

Morning
9.20- 10.15am
Stick the shapes to the fins 
Afternoon
1.05-2pm
Paint Card
Draw shapes on orange card
Green Circles-already cut out to stick down
Decorate card shapes with painted card/glitter use templates
2pm clean up

2.10pm-3pm
Put the elastic bands around the t-shirts, making sure they all keep to the same pattern (1 hour)
Outcome:
33 t-shirts ready to dye.
All fins have the shapes stuck on
Decorative parts to headdress-cardboard shapes nearly finished
Additional notes, inc suggestions for next lesson and follow up:
For next time:
me-
Sew rest of the elastic for bells
Dye all t-shirts
Cut all mask shapes out
Continue cutting out black circles
them-
finish shapes to be laminated


Date:
24/05/2012
Procession section: (e.g. Punch and Judy, jellyfish)
Red Fire Fish (orange)

Lesson no:
3
School:
Southill School
Resources/
Materials:
Supplied by School: Large Needles, scissors, stapler, staples, Laminator, Paintbrushes, paint pots
Supplied by moving tides: Bells, Purple elastic, thick strong thread, Paint, Plasterzote masks cut out, thin elastic, stapler, staples, laminate rolls, Heat gun
Objective:

Learning to make design choice decisions. Being creative
Work from a template
Learning basic sewing
Introduction:
9.30am-10.15m
Show how to adjust shape of the headdress and add thin elastic.
10.30am
Show the children how to decorate the masks with paint. Bring two different templates for them to choose their favourite
Show the children how to adjust the plasterzote.  
Show what will happen with heat gun 

1pm Show the children how to sew the bells onto the elastic
2.30pm Show them how to thread the cable ties through the plasterzote.
Main:

10-11am Get a parent to heat gun each of the masks so they are rounded and nose fits
11am-11.55am decorate the front of the mask with paint.

11.55-12pm Everyone help tidy up all mess
12pm-1pm lunch

1pm-2.30pm
Sew the Bells onto the elastic

2.30am
The Big reveal of the tie dye
Putting the cable ties on the plasterzote rectangles
Outcome:
33 Headdresses base finished. Mask part painted
33 finished Morris dancer style elastic with bells
Cable ties threaded onto the rectangles- 3 for primary, 5 for leader
T-shirts ready to put gems on
Additional notes, inc suggestions for next lesson and follow up:
Parent and helper spending day laminating shapes.
For Next time:
me-
Add gems to t-shirts
Draw the lines on the fins and iron
Cut plasterzote strips
Finish laminating shapes, and cut out.
them-
Children finish sewing bells.

Date:
31/05/2012
Procession section: (e.g. Punch and Judy, jellyfish)
Red Fire Fish (orange)
Lesson no:
4
School:
Southill School
Resources/
Materials:
Supplied from the school: glue gun, glue sticks for it, scissors, All Plasterzote headdresses, All parts lefts at school
Supplied from moving tides/me: small cable ties, foam circles, scraps from scrap store, Plasterzote strips, All costume parts I have. Foam heads
Objective:

Putting the headdresses together
Making the costumes look finished and work as a group.
Children are doing separate project for some parts of the day to do with the olympics arranged by the teacher
Introduction:

9.15am Staple the scraps of fabric to the bottom of the fins
9.30am
Start attaching it all together demonstration to helpers

2.45pm discussion about carnival and what we have learnt
Main:

9.35am-10.15am The teacher helps the children with adding the scrap materials to the bottom of the fins in the way they want.


9.45am2pm
Glue it all together add small cable ties
2.30pm Clear and pack everything away
2pm-2.45pm Everyone gets these t-shirt on and adult go round attaching fins and elastic wrists and t-shirts together using cable ties.
2.45pm-3pm Photos
Outcome:
Finish all the costumes
Additional notes, inc suggestions for next lesson and follow up:
10-2pm TA,  two parents + me needed on glue gun table putting it all together


Sort everything out so it’s ready and safe for 12 July